


April 29, 2014
DIY Flower Bouquet


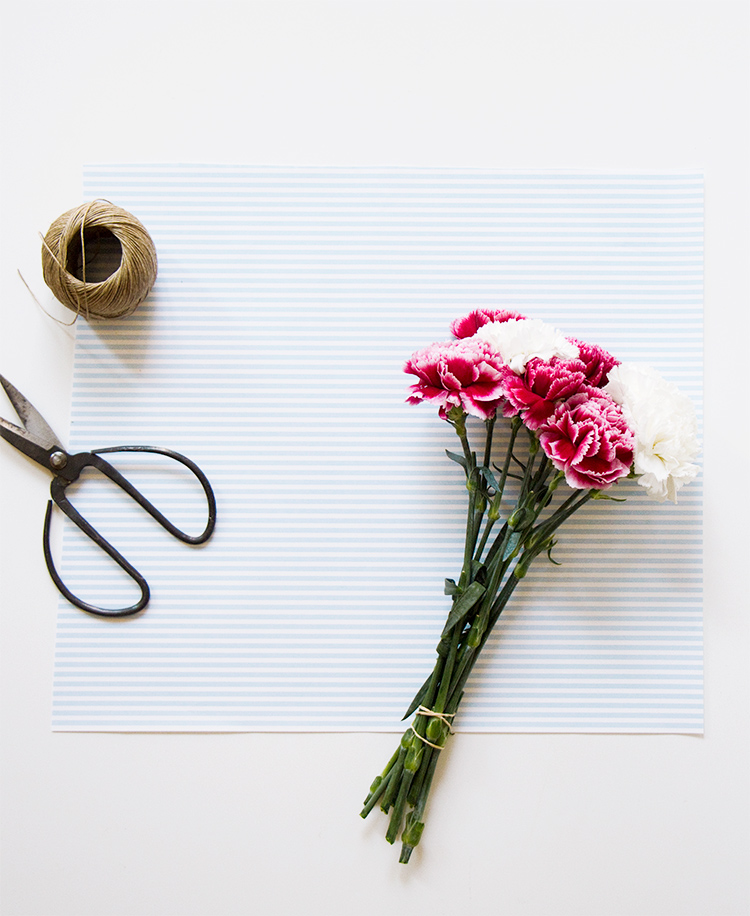
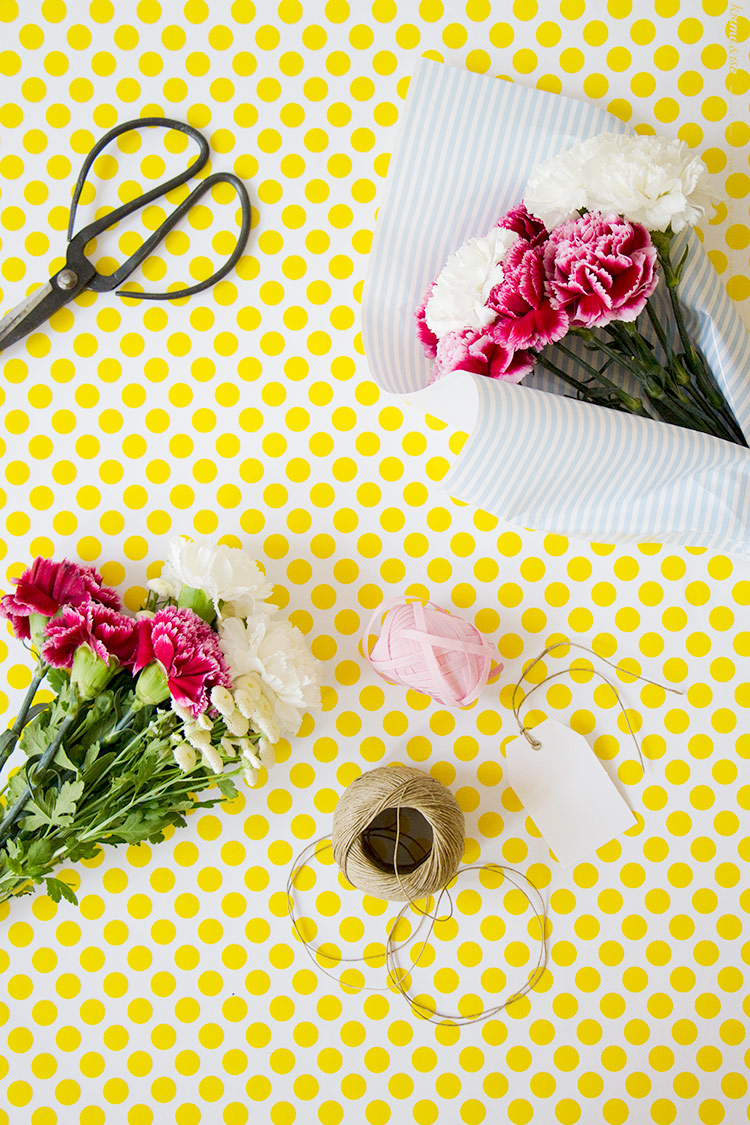
– Colourful, patterned paper (found mine at Modulor)
– Two types of string, whatever you fancy!
– Gift tags
– At least 3-4 different types of flowers (I highly recommend Bloomy Days if you’re in Germany)
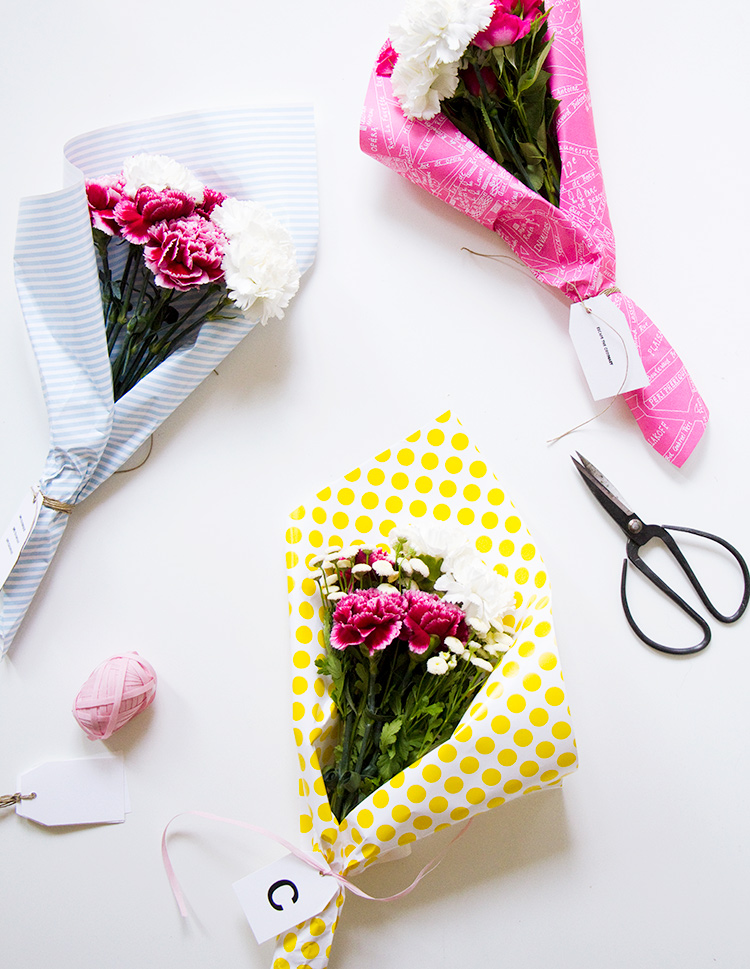
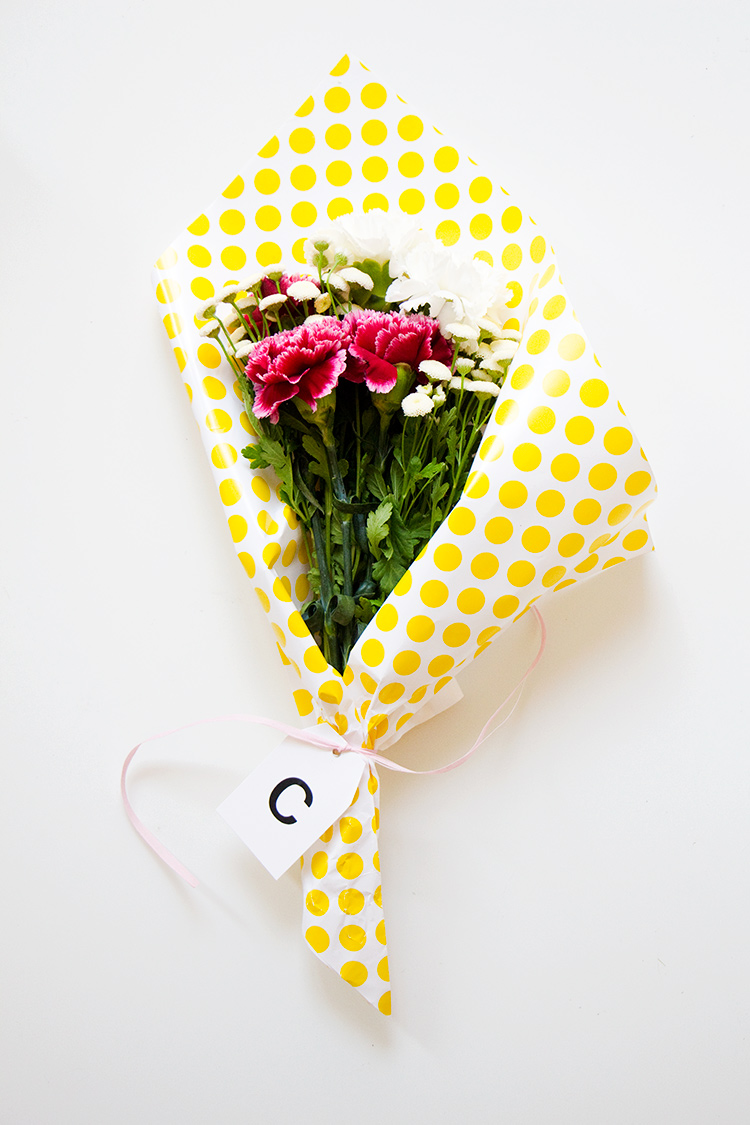
Step 1 – Start by making your bouquet with 5-8 flowers. Choose colours that complement each other; I tend to stick to 2-3 colours.
Step 2 – Wrap floral tape or an elastic band around the stems to secure them in place.
Step 3 – Cut your paper in to a medium-sized square. Take the right bottom corner and loosely fold it behind, then take the left bottom corner and do the same. This should create a point at the top of your bouquet. At the stems, tie with string or twine and that should secure the shape of the paper.
Step 4 – Add a cute tag and give to a friend! ‘
How fun are these? There are many ideas going on in this head of mine, and attempting to create more DIYs for the blog is definitely one of them. Okay, so I must admit I didn’t come up with this concept completely alone — I get inspired by other bloggers just as much as the next girl does. I saw Paper & Stitch create beautiful fabric bouquets a while back and I wrote it down on that long list of ideas to recreate it but with fun, colourful paper instead. I picked up all these gorgeous flowers at Bloomy Days, my go-to flower shop in Berlin, this past weekend and got crafty. These bouquets make the perfect gift and they have such a personalized touch. I’m positive anyone who receives one will be smiling all day.